Royal Navy — Escort carrier
HMS Battler — service history
This is the full service history. For the vessel's particulars, photograph and specifications, see the entry.
In the words of the US Navy. The account below is reproduced verbatim from the Dictionary of American Naval Fighting Ships, compiled by the Naval History and Heritage Command — a work of the United States Government, in the public domain, and the only text on this site not written here.
Before commissioning
A river and a sound in the state of Georgia. Altamaha was also the name of a town established in 1540 C.E., upon a site located in the present-day state of Georgia. Altamaha was mentioned in the journals of Spanish explorer Hernando De Soto's expedition.
Second World War 1939–1945
1941 Italy
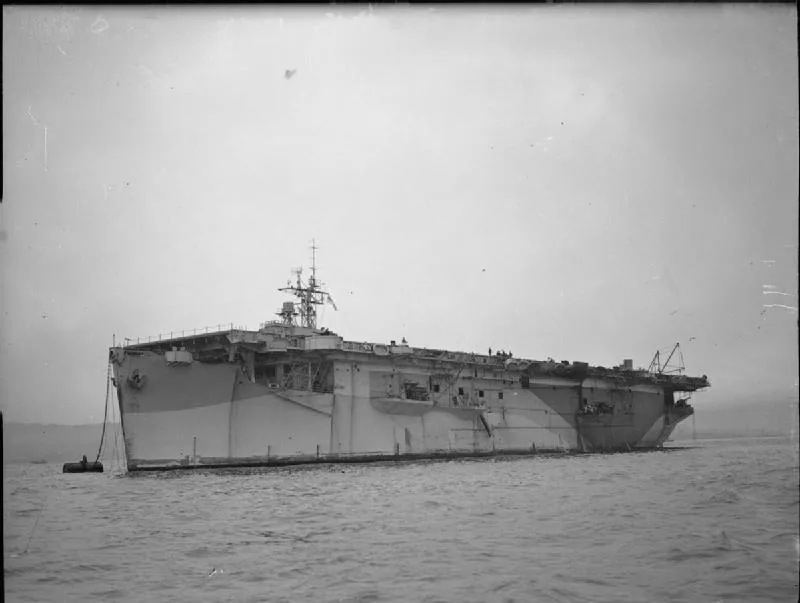
AVG-6 was laid down under a Maritime Commission contract (M.C. Hull 160) on 15 April 1941 at Pascagoula, Miss., by the Ingalls Shipbuilding Corp.; named Altamaha on 7 January 1942, but the name was cancelled on 17 March 1942; launched on 4 April 1942; sponsored by Mrs. Phillip Seymour, wife of Capt. Seymour; reclassified to an auxiliary aircraft carrier (ACV-6) on 20 August 1942; acquired by the Navy on 31 October 1942 and simultaneously transferred to the United Kingdom. That same day, the ship was renamed Battler (D-18) and commissioned by the Royal Navy.
Battler served the Royal Navy throughout World War II, operating for the most part on convoy escort and antisubmarine warfare missions in the North Atlantic. In September 1943, she supported Operation Avalanche , the invasion of Italy at Salerno. The ship was reclassified to an escort aircraft carrier (CVE-6) by the American Navy on 15 July 1943. She was returned to the custody of the United States on 12 February 1946. She was stricken from the Navy List on 28 March 1946. She was sold on 14 May 1946 to the Patapsco Steel Scrap Co., Bethlehem, Pa., and subsequently scrapped.
Altamaha (CVE-18) was laid down under a Maritime Commission contract (M.C. Hull 235) on 19 December 1941 at Tacoma, Wash., by the Seattle-Tacoma Shipbuilding Corp.; launched on 25 May 1942; sponsored by Mrs. Thomas S. Combs, the wife of Comdr. Combs who was the commanding officer of seaplane tender Casco (AVP-12); and commissioned on 15 September 1942, Capt. J. R. Tate in command.
Following brief sea trials, Altamaha got underway for San Diego, Calif., on 27 October in company with Kendrick (DD-612). While they were en route, Kendrick spotted a submarine and claimed that members of her crew had seen three torpedoes which had been fired at the escort carrier. However, no one on Altamaha observed any of the torpedoes. The voyage continued uneventfully, and the ships reached San Diego on the 31st. The carrier then took on aircraft and passengers and sailed in convoy on 3 November for the southwest Pacific.
1943
Upon reaching Espiritu Santo on 24 November, she delivered part of her cargo and continued on to New Caledonia. She reached Nouméa there on 28 November and commenced a period of flight operations and training exercises. The vessel returned to Espíritu Santo in the New Hebrides [Vanuatu] on 30 December, but continued on to the Fiji Islands and touched at Nandi on 13 January 1943 before beginning another period of opertional training.
In early February, Altamaha paused off Funafuti in the Ellice Islands [Tuvalu]; loaded cargo and people on to barges and sent them ashore. The carrier then proceeded to the Hawaiian Islands and arrived at Pearl Harbor on 10 February. There, the planes and men of Carrier Air Group 11 boarded; and the ship set a course for the Fiji Islands on the 19th. She reached Nandi on 28 February discharged her cargo, and reversed her course back toward the Hawaiian Islands.
After a short stay in port at Pearl Harbor, the escort carrier got underway on 9 March with replacement aircraft for the flattops of the Pacific Fleet. She paused at Palmyra Island on 15 March; continued on to Johnston Island, debarked aviation marines on the 17th; and touched at Midway Island three days later before reversing course and returning to the Hawaiian Islands. She remained at Pearl Harbor for one day, 23 March, and then continued on to the west coast.
Altamaha reached San Diego, Calif., on 1 April and began three and one-half months of flight operations off the California coast alternated with upkeep in San Diego. On 13 July, she arrived at Alameda, Calif., to take on planes from the naval air station there. The escort carrier got underway for Australia three days later and made Brisbane on 3 August. Following a ten-day visit to Fremantle, she cleared the harbor on the 16th for India and arrived at Karachi [Pakistan] on 28 August and delivered 29 Army Air Force airplanes.
On 2 September, the escort carrier reversed her course and steamed back to Australia. She reached Melbourne on the 18th and, at the end of three days there in a leave and upkeep status, got underway for the west coast of the United States. On 8 October, the vessel entered the Mare Island Navy Yard at Vallejo, Calif., for an overhaul.
The escort carrier got underway for sea trials on 8 November, paused briefly at Alameda to take on replacement aircraft, and set out on the 13th for Brisbane. Altamaha reached her destination on 30 November and began discharging her cargo. The ship left there on 4 December to return home. Upon her arrival at San Diego on the 21st, she began a period of local operations, carrier qualifications, and repairs.
1944
The ship got underway for Pearl Harbor on 22 March 1944, arrived there on the 28th, and began taking on Composite Squadron 6 for transportation to an operating area 300 miles east of the Marshall Islands. The carrier had been selected to be the nucleus of Task Group (TG) 11.1-which was established for a hunter/killer operation to destroy Japanese submarines operating against the Pearl Harbor-Marshall Islands supply lines-and left the Hawaiian Islands in company with four destroyer escorts on 30 March. The warships reached their assigned area on 3 April and began their first patrol. The group reported contacting two submarines but did not receive credit for damaging or destroying either. The task group put into Majuro Atoll on 8 April to allow the destroyer escorts to refuel.
The ships sailed on the 11th to carry out a second antisubmarine mission. Altamaha was the target of a Japanese torpedo attack on the 15th but successfully evaded all four shots. The remainder of the patrol passed uneventfully before TG 11.1 was relieved on 18 April and shaped a course for Pearl Harbor. Following a short upkeep period in Hawaiian waters, the carrier returned to Majuro in early May and operated in an antisubmarine screen off the Marshall Islands for several days before returning to Pearl Harbor on 11 May.
After a two-day layover in Hawaii, Altamaha pushed on toward the west coast. Reaching Alameda on the 18th, she entered the shipyard of the United Engineering Co. for repairs and alterations. She resumed operations on the last day in May and headed for Hawaii, laden with aircraft and spare parts.
Having delivered her cargo at Pearl Harbor, Altamaha, returned to Alameda. From there, she proceeded to San Diego, which she reached on 19 June and spent two days loading men and equipment before departing California on the 21st, bound for the New Hebrides. She reached Espiritu Santo on 7 July; discharged cargo; and, on the 12th, headed for Morobe, New Guinea, where she arrived on 16 July. Having made additional calls at Langemak, New Guinea, and Seeadler Harbor, Manus Island, Altamaha arrived back at Espiritu Santo on the 25th. She made one more cruise from this island, during which she visited Seeadler Harbor and Guadalcanal. The carrier departed the New Hebrides on 10 August, bound for Hawaii.
Altamaha paused at Pearl Harbor for two days and then sailed on to San Diego. She spent four days there before getting underway and setting course for Pearl Harbor. She departed Hawaiian waters on 8 September, made port calls at Emirau Island and Seeadler Harbor, and returned to San Diego, where she arrived on 6 October. The vessel next spent three weeks in local operations before getting underway on the 26th for another voyage west.
The escort carrier paused at Pearl Harbor for three days, then sailed for Eniwetok with replacement aircraft and pilots. On 15 November, she reached Ulithi and then carried out flight operations off Ulithi through 14 December, when she got underway for the 3d Fleet replenishment area. On the 16th, the ship joined TG 30.8, which was composed of oilers and replacement carriers, in the Philippine Sea and, the next day, began transferring pilots to Buchanan (DD-484). However, heavy seas compelled her to break off that task. By early morning on the 18th, the disturbance had grown into a raging typhoon. By 0900, the escort carrier was laboring heavily and rolling as much as 25 to 30 degrees to either side. An hour later, visibility dropped to zero, and the vessel abandoned all effort to keep station. Almost one-half of the aircraft on board Altamaha broke loose and plunged overboard. The ship also experienced problems with flooding in the forward elevator pit. By 1600, the weather was improving, and the ship rode better. Soon she made a rendezvous with other members of TG 30.8.
1945 Operation Magic Carpet
While the carrier sustained considerable material damage, she suffered no personnel casualties and was able to resume her resupply operations on 19 December. Altamaha continued her operations with the replenishment group through early February 1945. During this time, she serviced 3d Fleet units in Philippine waters and made port calls at Guam, Manus, and Ulithi in the Carolines. On 15 February, the ship touched at Pearl Harbor.
Altamaha continued on to the west coast, arriving at Alameda on 26 February. The ship began an availability at the Hunters Point Navy Yard, Calif., on 3 March during which she was drydocked for routine work below the waterline and repairs to a propeller damaged in the typhoon. The carrier emerged from the yard on 14 March and began loading planes, ammunition, and supplies for transportation to Pearl Harbor.
During the remaining months of World War II, Altamaha provided general transportation service from Alameda, San Diego, and Pearl Harbor to various points in the Pacific. Among her stops were Guam, Saipan, Eniwetok, Kossol Roads, and Samar. Following the Japanese capitulation in mid-August, Altamaha returned to the west coast for repairs and an overhaul at the Hunters Point Navy Yard. She began sea trials in mid-October and got underway for Pearl Harbor on the 22d. The vessel was then assigned to the Operation Magic Carpet fleet and transported armed forces personnel and equipment throughout the Pacific back to the United States.
Post-war 1946–1949
1946
On 15 January 1946, Altamaha headed to Tacoma, Wash. Deactivation preparations were begun there, and the carrier was placed out of commission, in reserve, on 27 September 1946. The ship was reclassified to a helicopter escort aircraft carrier (CVHE-18) on 12 June 1955. Her name was stricken from the Navy List on 1 March 1959, and the vessel was sold on 25 April 1961 to Eisenberg & Co., New York City, N.Y., and, later that year, was scrapped in Japan.
Other photographs
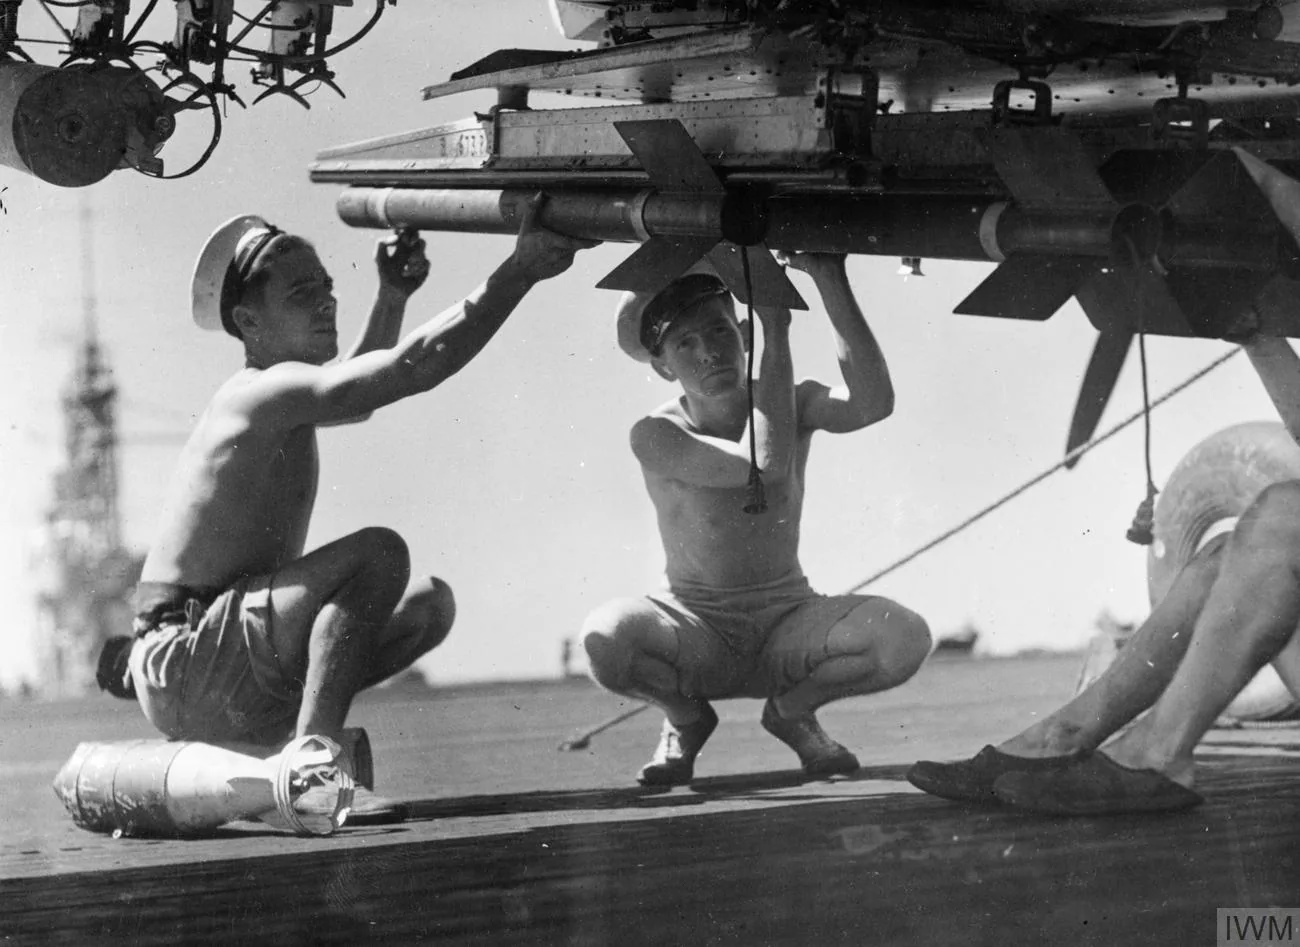
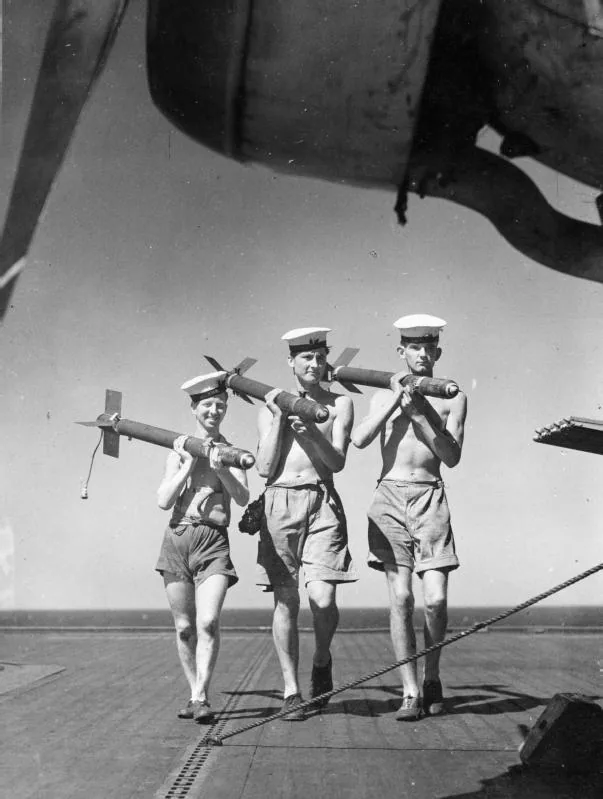
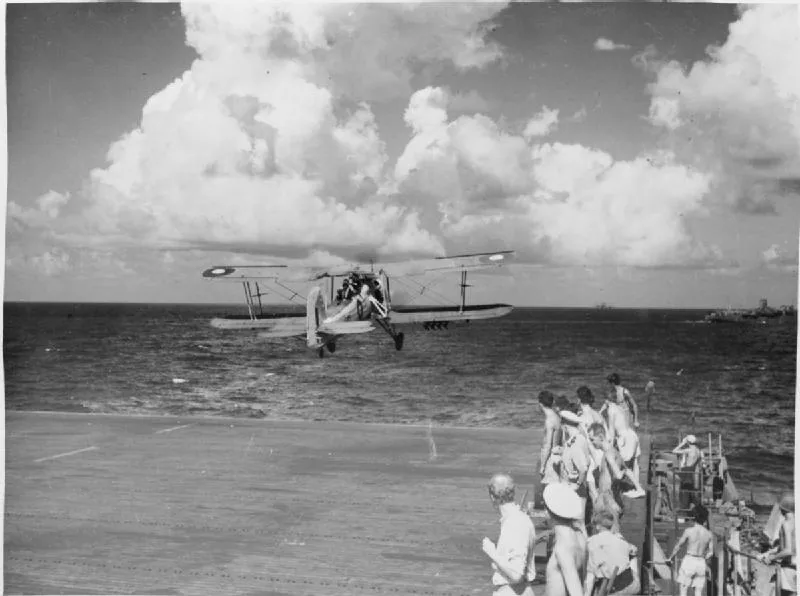
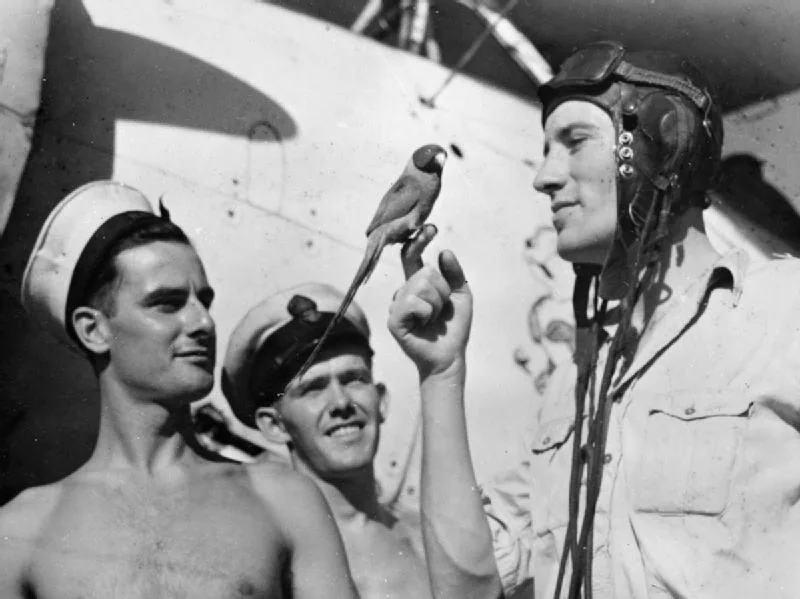
Held for this vessel, and not tied to any part of the account above.




References
Every work this entry draws on. There are no numbered markers in the text above: what we hold is the provenance of the page — this history, this article, these photographs.
- History Altamaha I (AVG-6) Dictionary of American Naval Fighting Ships, Naval History and Heritage Command. A work of the United States Government, in the public domain — the only text on this site reproduced verbatim.
- Facts HMS Battler Structured facts only — dates, dimensions, armament and fate. No wording is taken from it. Harvested 1 August 2026.
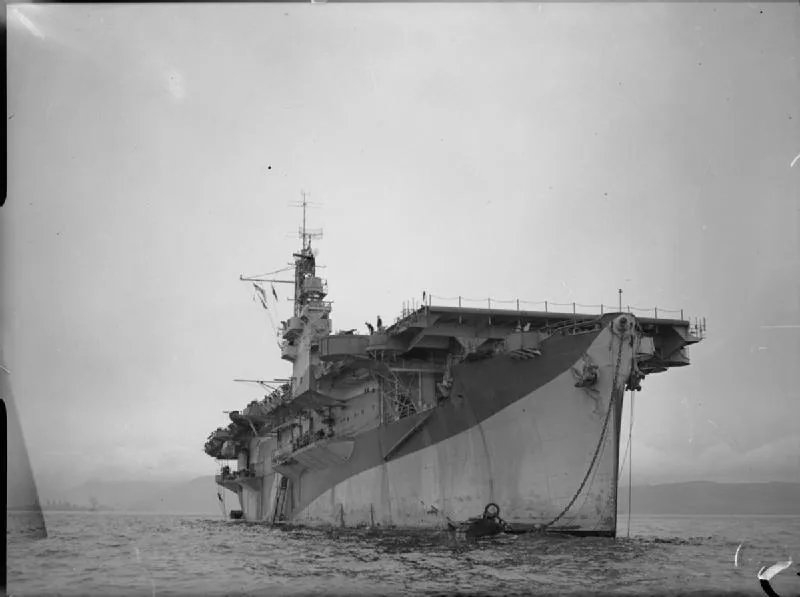
- Photograph HMS Battler D18 Royal Navy official photographer — Imperial War Museum ref FL 1588 — Public domain — Wikimedia Commons
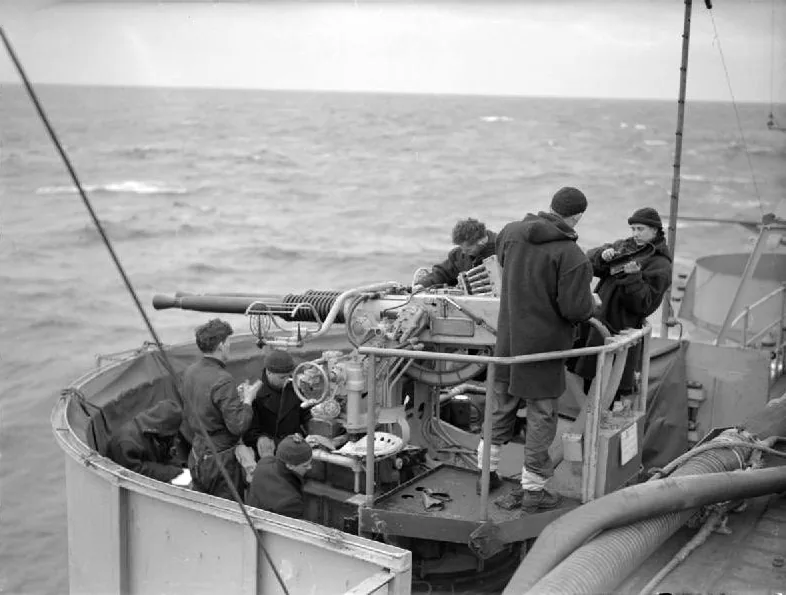
- Photograph Twin 40mm bofors gun on escort carrier Oulds, D C (Lt) Royal Navy official photographer; The original uploader was Jim Sweeney at English Wikipedia .. Later version(s) were uploaded by Beao at en.wikipedia . (3 October 2010 (first version); 25 October 2010 (last version)) — This photograph A 19751 comes from the collections of the Imperial War Museums (collection no. 4700-01) — Public domain — Wikimedia Commons
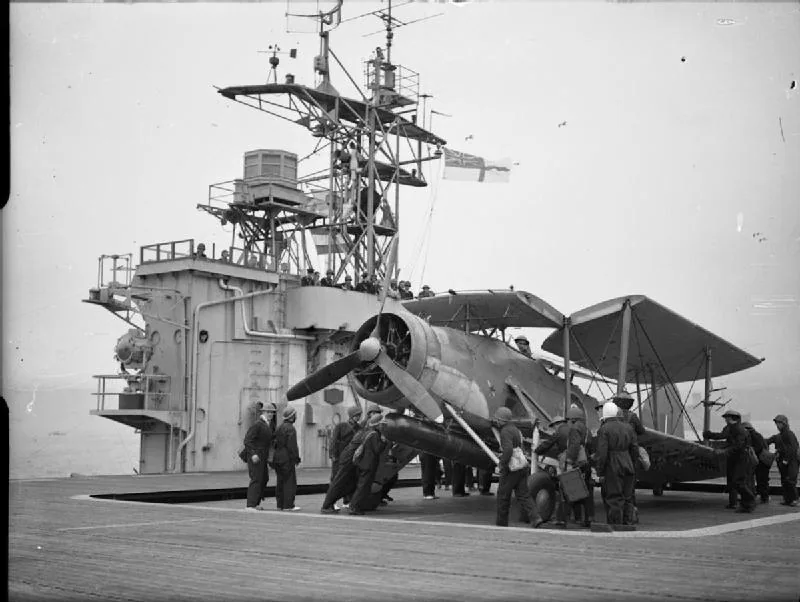
- Photograph The Royal Navy during the Second World War A16649 Beadell, S J (Lt), Royal Navy official photographer — http://media.iwm.org.uk/iwm/mediaLib//30/media-30044/large.jpg This photograph A 16649 comes from the collections of the Imperial War Museums — Public domain — Wikimedia Commons
- Photograph The Royal Navy during the Second World War A21600 Royal Navy official photographer — http://media.iwm.org.uk/iwm/mediaLib//30/media-30498/large.jpg This photograph A 21600 comes from the collections of the Imperial War Museums — Public domain — Wikimedia Commons
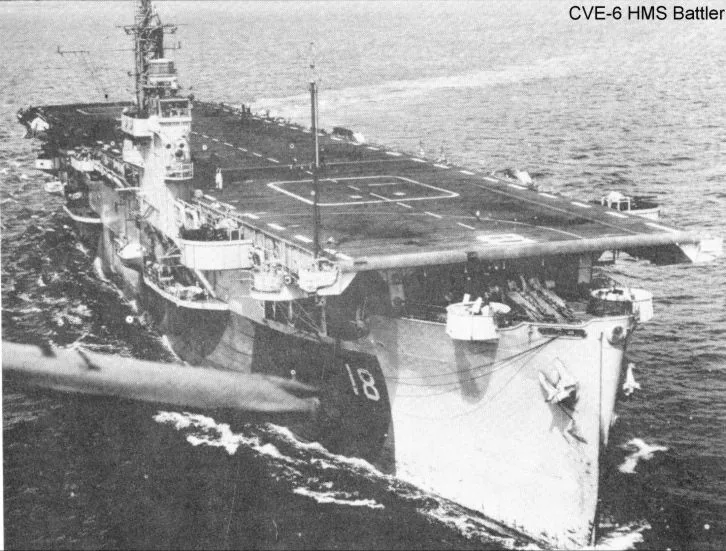
- Photograph CVE-6 Altamaha User Kralizec! on en.wikipedia — Originally from en.wikipedia ; description page is (was) here * 18:24, 3 September 2005 [[:en:User:Kralizec!|Kralizec!]] 726×551 (93,123 bytes) ([[:en:USS Altamaha (CVE-6)]] / HMS Battler underway {{PD-USGov-Military-Navy}}) — Public domain — Wikimedia Commons
- Photograph The Royal Navy during the Second World War A16641 Beadell, S J (Lt), Royal Navy official photographer — http://media.iwm.org.uk/iwm/mediaLib//18/media-18057/large.jpg This photograph A 16641 comes from the collections of the Imperial War Museums — Public domain — Wikimedia Commons
- Photograph The Royal Navy during the Second World War A16643 Beadell, S J (Lt), Royal Navy official photographer — http://media.iwm.org.uk/iwm/mediaLib//18/media-18058/large.jpg This photograph A 16643 comes from the collections of the Imperial War Museums — Public domain — Wikimedia Commons
- Photograph The Royal Navy during the Second World War A16647 Beadell, S J (Lt), Royal Navy official photographer — http://media.iwm.org.uk/iwm/mediaLib//30/media-30043/large.jpg This photograph A 16647 comes from the collections of the Imperial War Museums — Public domain — Wikimedia Commons
- Photograph The Royal Navy during the Second World War A21601 Royal Navy official photographer — http://media.iwm.org.uk/iwm/mediaLib//30/media-30499/large.jpg This photograph A 21601 comes from the collections of the Imperial War Museums — Public domain — Wikimedia Commons
- Photograph The Royal Navy during the Second World War A21602 Royal Navy official photographer — http://media.iwm.org.uk/iwm/mediaLib//30/media-30500/large.jpg This photograph A 21602 comes from the collections of the Imperial War Museums — Public domain — Wikimedia Commons
- Photograph The Royal Navy during the Second World War A21605 Royal Navy official photographer — http://media.iwm.org.uk/iwm/mediaLib//30/media-30501/large.jpg This photograph A 21605 comes from the collections of the Imperial War Museums — Public domain — Wikimedia Commons
- Photograph The Royal Navy during the Second World War A21613 Royal Navy official photographer — http://media.iwm.org.uk/iwm/mediaLib//30/media-30502/large.jpg This photograph A 21613 comes from the collections of the Imperial War Museums — Public domain — Wikimedia Commons
- Photograph The Royal Navy during the Second World War A21614 Royal Navy official photographer — http://media.iwm.org.uk/iwm/mediaLib//30/media-30503/large.jpg This photograph A 21614 comes from the collections of the Imperial War Museums — Public domain — Wikimedia Commons
- Photograph The Royal Navy during the Second World War A21616 Royal Navy official photographer — http://media.iwm.org.uk/iwm/mediaLib//30/media-30504/large.jpg This photograph A 21616 comes from the collections of the Imperial War Museums — Public domain — Wikimedia Commons
- Photograph The Royal Navy during the Second World War A21626 Royal Navy official photographer — http://media.iwm.org.uk/iwm/mediaLib//30/media-30505/large.jpg This photograph A 21626 comes from the collections of the Imperial War Museums — Public domain — Wikimedia Commons
- Photograph The Royal Navy during the Second World War A21637 Royal Navy official photographer — http://media.iwm.org.uk/iwm/mediaLib//30/media-30506/large.jpg This photograph A 21637 comes from the collections of the Imperial War Museums — Public domain — Wikimedia Commons
- Photograph The Royal Navy during the Second World War A21642 Royal Navy official photographer — http://media.iwm.org.uk/iwm/mediaLib//30/media-30507/large.jpg This photograph A 21642 comes from the collections of the Imperial War Museums — Public domain — Wikimedia Commons
- Photograph The Royal Navy during the Second World War A21643 Royal Navy official photographer — http://media.iwm.org.uk/iwm/mediaLib//30/media-30508/large.jpg This photograph A 21643 comes from the collections of the Imperial War Museums — Public domain — Wikimedia Commons
- Photograph The Royal Navy during the Second World War A21651 Royal Navy official photographer — http://media.iwm.org.uk/iwm/mediaLib//30/media-30509/large.jpg This photograph A 21651 comes from the collections of the Imperial War Museums — Public domain — Wikimedia Commons
- Photograph The Royal Navy during the Second World War A21661 Royal Navy official photographer — http://media.iwm.org.uk/iwm/mediaLib//30/media-30510/large.jpg This photograph A 21661 comes from the collections of the Imperial War Museums — Public domain — Wikimedia Commons